Watch US Netflix (2018-01-19)
Circumventing Netflix’s georestrictions is legal, however, by employing this you would be breaking the Netflix Terms of Use
You also agree not to: circumvent, remove, alter, deactivate, degrade or thwart any of the content protections in the Netflix service
They would probably ban your account if they really cared, but thus far, no action has been taken against users using VPNs to watch Netflix. With this in mind:
DISCLAIMER: This has been written for educational purposes of learning about routing net traffic. I am not responsible for how you use this information. The title is clickbait only.
Now, to the plan.
TL;DR
If you’re familiar with AWS (Amazon Web Services), you only need to do take the following steps to get this up and running, hence it is super easy and convienient.
- Clone this repo to get the necessary files
- Install terraform
cdintonetflix-and-socksrepo- Copy and fill in
secrets/terraform.tfvars.templateassecrets/terraform.tfvarswith an AWS User AK/PK pair - Run
terraform init - Run
./terraform.sh applyand typeyesto confirm - Run
./launch.shto avoid geofencing - (Optional) Run
./terraform.sh destroyto tear down all AWS resources provisioned during theapplyphase
If you’re not so familiar with AWS, read on. I’ll take you through step-by-step.
Introduction
At the start of last year, I learnt how to launch a browser from another country, using AWS as a proxy service. At the start of this year, I also learnt of a great program called terraform (learn about it here, the docs are great!). Terraform makes it easy for anyone to create their own proxy server.
This should work easily for Mac and linux users. Due to terraform, the process will be very similar for Windows users, but I have only provided helper .sh scripts. It won’t be hard to convert them to *.bat files.
Plan
The steps we will take are
- Clone my
terraformfiles - Sign up to AWS
- Make a User Role with an Access Key
- Let
terraformknow our credentials - Download and install
terraform - Automatically provision the proxy server
- Launch
google-chromevia the proxy server
Clone my terraform files
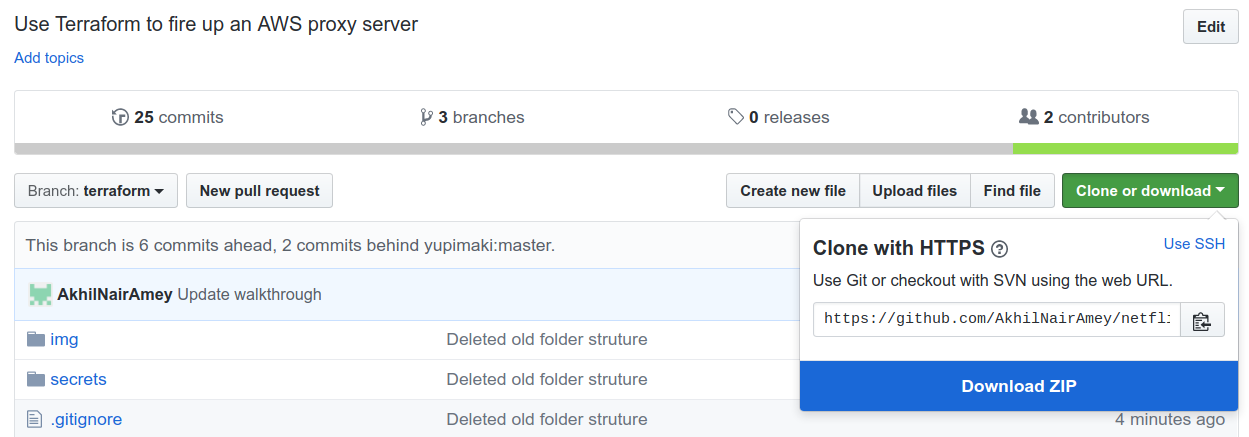
Download the code (including the necessary config) here. If you’ve used git before, you know what to do. Else, click the Download ZIP button and get the code like a normal folder. This is known as a code repository or repository.
For now, we won’t need any of the files. Just remember there is a file at folder/secrets/terraform.tfvars.template, which we will soon be filling in with some credentials you’ll make. Currently, it’s a template and looks like this:
akhil@pc:~/personal/netflix-and-socks cat secrets/terraform.tfvars.template
access_key = "XXXXXXXXXXXXXXXXXXXX"
secret_key = "XXXXXXXXXXXXXXXXXXXXXXXXXXXXXXXXXXXXXXXX"
public_key = "ssh-rsa AAAAB3N...THISISAREALLYLONGSTRING...DPMDMPDOPWJEF"
region = "us-east-1"
Sign up to AWS
Sign up to AWS here. If your first year of usage has already expired and you want to continue using free tier machines, create a new email address to sign up with first.
You will have to provide your payment card details. You will not be charged for the first year, using AWS only for the infrastructure in the provided *.tf file. Nonetheless you do this at your own risk and I am not responsible if you do get charged for something. Furthermore, if you do get charged, please let me know, as it might mean I’m getting charged, and that’s not ideal.
Make a User Role with an Access Key
- The User is an AWS abstraction. You can create a User to, in this case, allow programmatic access to AWS resources you specify.
- The Access Key and Secret Key are analogous to the username and password for the User.
Navigate to the User Creation Page here. Note, that is not the page name. In case the page moves, it is found under IAM > User.
Create a Terraform User with programmatic access to enable access tokens.
- Click the blue
Add Userbutton. - Name the user
Terraform - Tick
Programmatic access
You should have a result like the image below before moving to the next screen.

- Click
Next
Next we give our Terraform user permission to manipulate servers on our AWS account, i.e., programs that can authorise as Terraform may create, destory, etc. provisioned virtual machines.
- Click
Attach existing policies directly - Type
EC2Fullin the search bar - Tick the policy that returns from the search -
AmazonEC2FullAccess

- Click
Next
Review your selection to make sure programmatic access with full EC2 permission has been selected. Proceed to the next screen, where we will be presented with our newly created access tokens. You will be warned many times about these things
- You can only see your secret access key here
- Do not let anyone see your secret access key - They can manipulate potentially expensive AWS resources with it
Now the warnings are out of the way;
- Copy your Access key ID (AK) somewhere safe
- Click
Showunder Secret access key - Copy your Secret access key (SK) somewhere safe
We’re done with the hard part!
Let terraform know our credentials
Do you remember that secrets/terraform.tfvars.template file from before? Make a copy of the file called terraform.tfvars, also in the secrets folder. Replace the XXXXs with your AK and SK. You should know which goes where, just by the length of the keys.
We also need to add a Public Key to this file. I’m not going to go through in detail what this is, or how to create this keypair, but it a keypair is a way to prove your identify and authenticate with a server or program without using a password. Follow this short guide from GitHub to effortlessly set this up. Add the public key you made to terraform.tfvars.
This is where you would change the server location. Say, if you needed to browse the web from mainland europe, you would set the region to eu-central-1. You can find the complete list of regions here.
Note, the name and location of the file is important.
Download and install terraform
We’ve premptively let terraform know what our AWS credentials are, before even installing terraform. How? Because when we run terraform with a specific configuration, defined by a *.tf file, terraform will know to look for credentials in a file called exactly terraform.tfvars.
- Find the terraform download links here.
- Choose your platform and click it to download the archive
- Open the downloaded archive which should have one binary file in it
- Extract/drag this file to some reasonable program location
I use Ubuntu and so extracted it to /opt/terraform/ because of reasons. This is slightly confusing. To confirm, the binary lives at /opt/terraform/terraform.
- Add
terraformto thePATHvariable so it can be launched via the command line
Mac and Linux users can do this by running the following command in a terminal
sudo ln -s /opt/terraform/terraform /usr/bin/terraform
Check your terraform install by typing terraform --version into the terminal from anywhere.
akhil@pc:~$ terraform --version
Terraform v0.11.2
Success!
Automatically provision the proxy server
You’ll have to use the terminal now. Don’t worry though, there are only very simple commands to type in.
- Navigate back to the initial repository we downloaded
- Download the AWS drivers using
terraform init
I’ve added a helper script called ./terraform.sh that will pass our secret credentials file to terraform. I hope by now you’ve filled it out it an access_key, a secret_key, and a public_key.
- Run
./terraform.sh planto see whatterraformplans to do on AWS- If you haven’t correctly made
secrets/terraform.tfvars.template, you will be prompted for the keys here.
- If you haven’t correctly made
The terraform plan will be output to the terminal. Importantly, you’ll see terraform wants to add 4 AWS resources.
Plan: 4 to add, 0 to change, 0 to destroy.
- Run
./terraform.sh applyto automatically make the infrastructure - Type
yesto confirm you want to proceed - Wait under a minute for this to all launch
- Finally run
./launch.shto surf the web from the server’s geographic location - I like to check this works by seeing if Netflix offers me Grey’s Anatomy. I would never actually play it though.
The terminal should be held by the “tunnel”, which enables web traffic forwarding from the US server. And you’re done! Hopefully if you read back the TL;DR at the start, you can appreciate how simple a process this is, with the credentials already set up.
Thanks for reading,
Akhil
Notes
- Completely remove any AWS infrastructure by running
./terraform.sh destory - AWS charges by the hour, and you get
750hours per month usage of a free tier machine in the first year.31 * 24 = 744so you may think you’re in the clear. However, an hour is clocked whenever you turn on a machine, thus if you turn a machine off and on 4 times in 10 minutes, you will use up 4 hours usage. Be weary of this. - Due to a bug in
google-chrome, you have to close all chrome windows before launching the proxy browser.